The Job Notes Screen
A review of the Job Notes screen functionality.
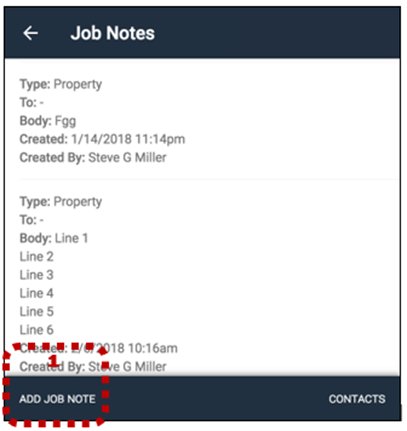
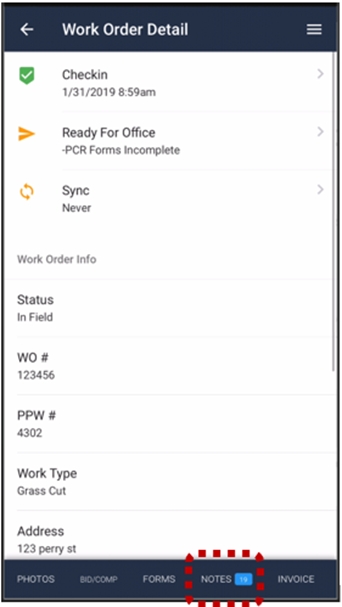
The Job Notes screen shows job notes for the work order, from newest to oldest. Existing job notes cannot be modified. Tap the ‘Notes’ button on the Work Order Detail screen to display the Job Notes screen.
Adding New Job Notes
Follow the steps below to add new Job Notes.
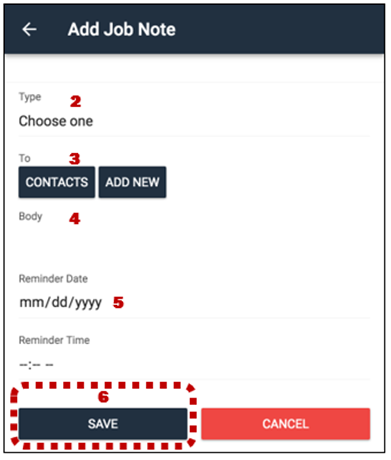
1. On the Job Notes screen, tap Add Job Note. The Add Job Note screen is displayed.
2. Select the note Type.
a. The Property note type is associated with the property and is always displayed on all orders at the property.
b. The Work Order note type is associated with only the specific order being completed.
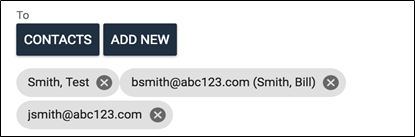
3. Optionally, you can specify a contact in the To field. Contacts selected in the To field are sent an alert when the note is synced. Pre-set contacts are alerted based on your PPW alert settings. Contacts added with an email address receive the note in their email inbox. (Pre-set contacts - Contacts that have been defined in the Job Notes section of the PPW web application.)
a. To choose preset contacts or contacts previously added in your contact list, tap Contacts.
b. To create a new entry, tap Add New. Enter an email address, first name, and last name into the form. To save the contact to your list, select Save to Contacts.
4. Specify the body text for the job note.
5. Optionally, to receive an email reminder of the job note, specify a reminder date and time.
6. Tap Save.
Taking Photos And Editing Job Notes
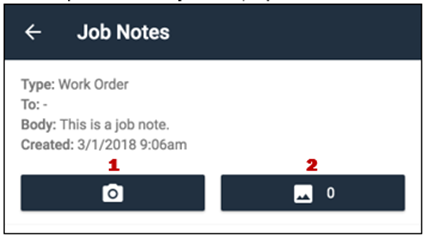
To take photos for the job note, tap the Camera button (1). The number of photos taken for the job note is displayed on the Gallery button (2). You can tap the button to open the gallery screen for the job note and tap photos in the gallery to see a larger version. Tap and hold to display the delete photo option.
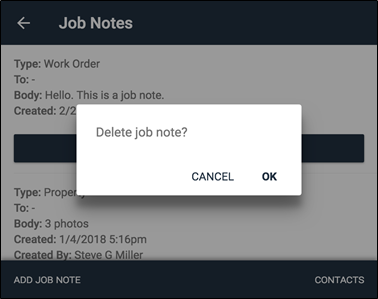
Tap and hold anywhere on the job note information. A message will pop up asking you if you want to delete the job note. Click ‘OK’ to delete the job note.
Job notes can be edited, and photos can be taken until the job note has been synced to the server. After the job note is synced, it cannot be modified, and photos cannot be taken. You can add another job note if additional information is needed.
Contacts Screen
Contacts from the server that are enabled to receive job notes are automatically sent to the app. These contacts cannot be modified or deleted.
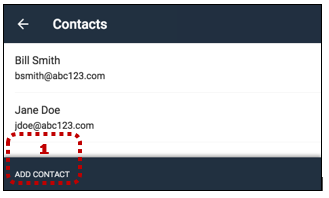
On the Job Notes screen, you can tap 'Contacts' to access the Contacts screen, which lists any contacts added by the end user. The contacts sent from the server are not displayed on this screen.
Add New Contacts
To add new contacts, follow the steps below.
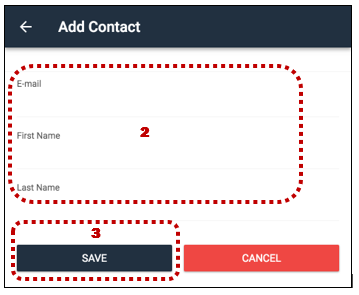
1. On the Contacts screen, tap Add Contact. The Add Contact screen is displayed.
2. Enter an email address, first name, and last name. You cannot enter multiple contacts with the same email address.
3. Tap Save, or, if you need to return to the previous screen without saving the contact information, tap Cancel.
To modify existing contacts, tap anywhere on a contact info row of the Contacts screen. To delete a contact, tap and hold on the contact. A message will pop up asking if you want to delete the contact. Click ‘OK’ to delete the contact.
Last updated