Admin - Groups
Groups are used to establish functionality settings for a group of individuals that will be using your system. They allow you to set up internal, client and contractor users differently.
Let’s review how to set up Groups.
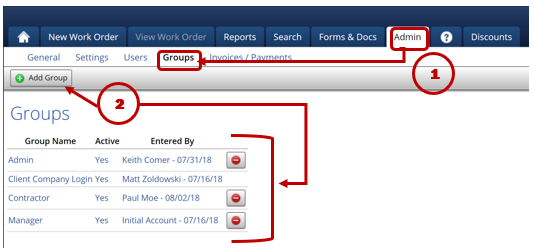
1. To begin, Go To Admin->Groups.
2. The system has already created four (4) default groups. Click the “Add Group” button to create a group.
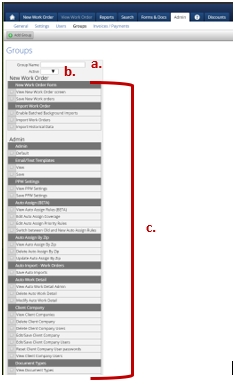
3. When creating a new group, you will need to:
a. Create a group name
b. Mark it Active
c. Check mark all permission you wish to assign to that group. i. Review the default groups to see what has been selected for other groups. ii. CONSULT PPW for more information about any permissions for which you are unsure.
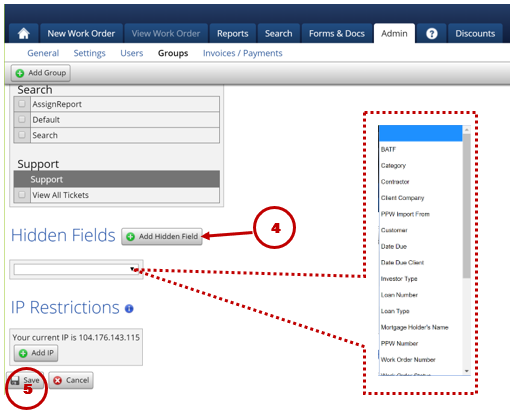
4. You can also select specific fields to hide from the group. Click the “Add Hidden Field” and then choose the one you wish to hide. REPEAT for each additional field.
5. Always click “Save” when making any changes to a Group.
Last updated