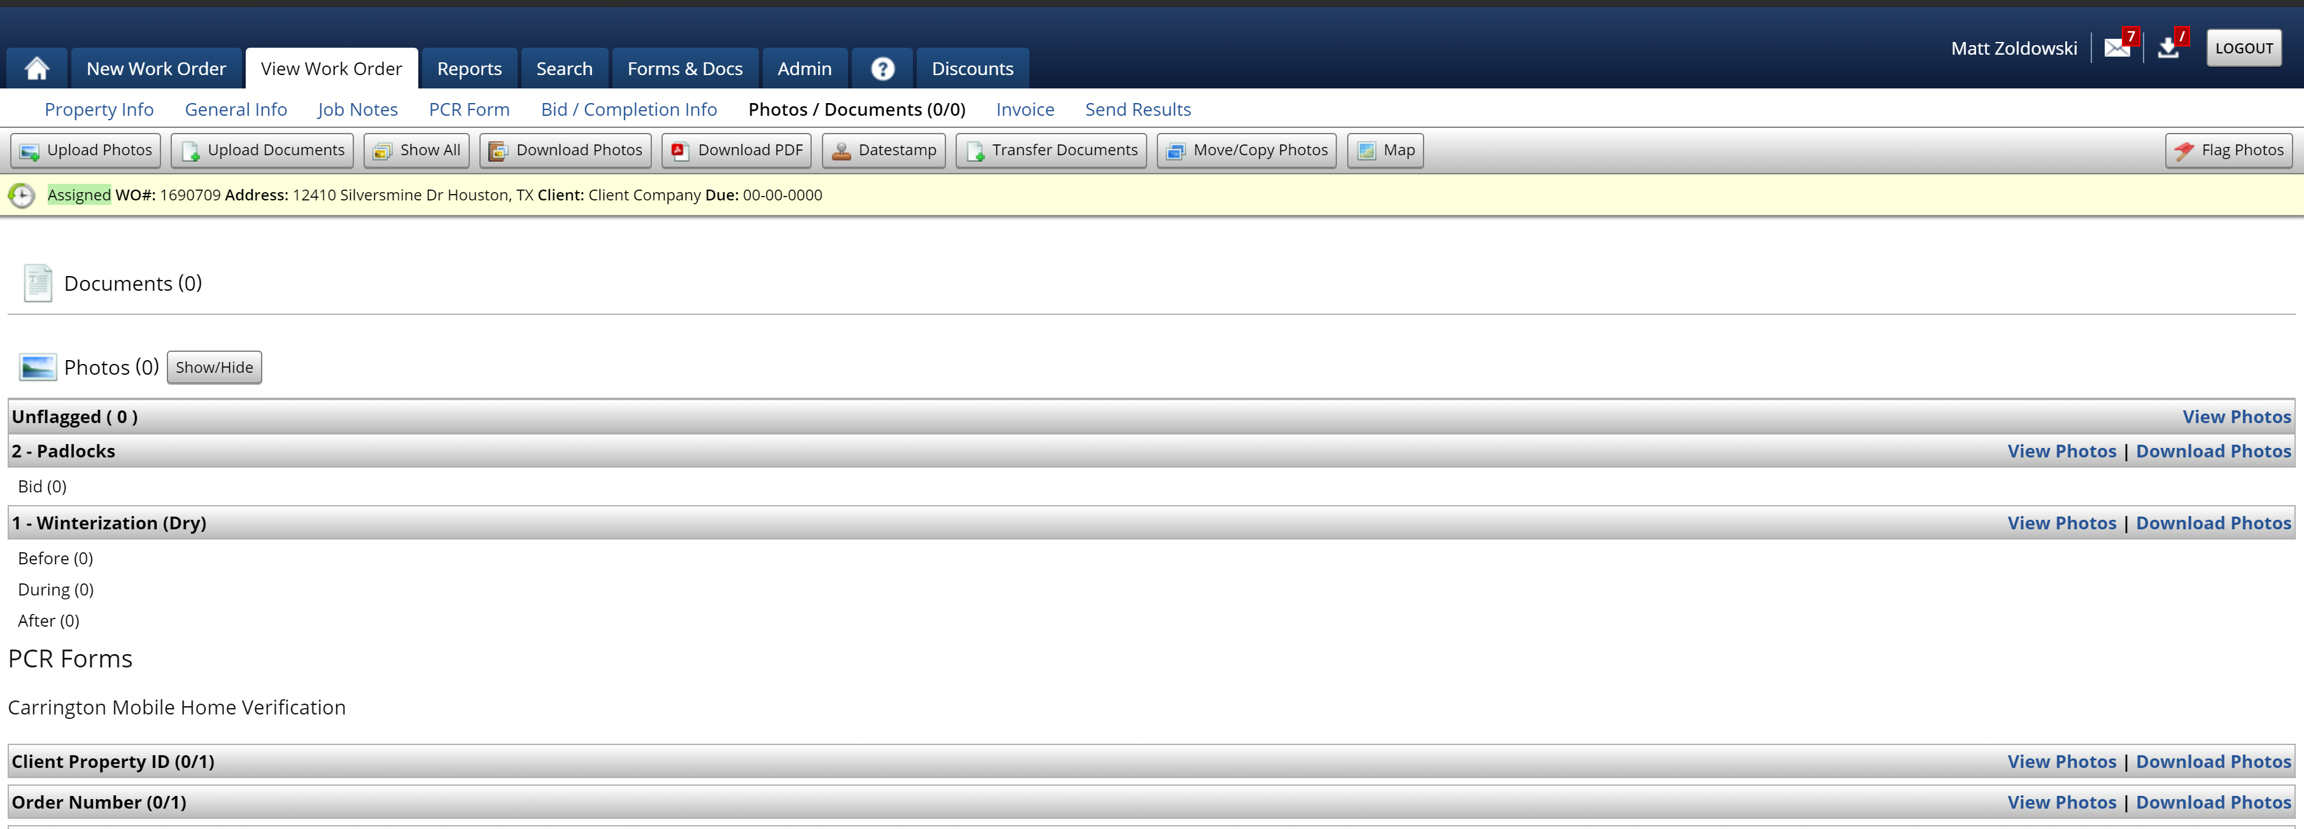
Photos/Documents
The Photos/Documents tab of PPW is where you can upload/view any photos or documents that were added to this work order.
The Menu Bar
The buttons in the menu bar are as follows:
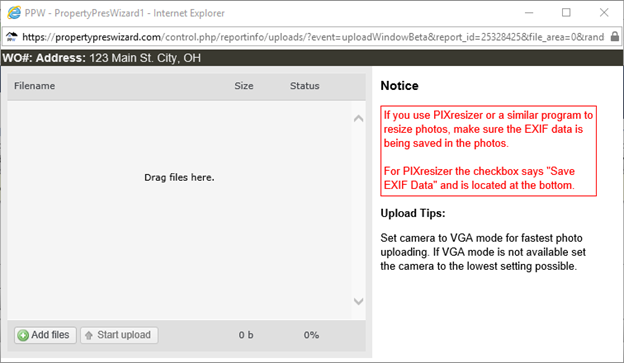
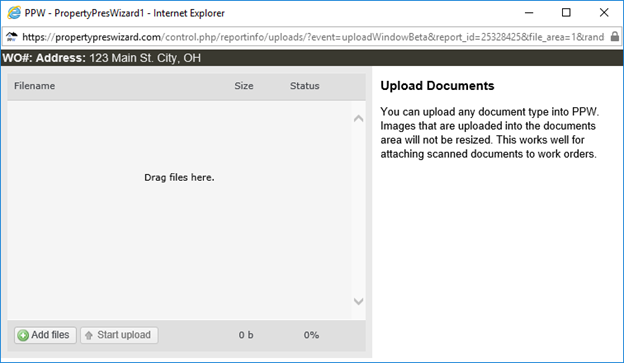
Upload Photos Button
This will allow you to upload photos from your computer, to do so, click on the button and then you can either drag the photos from your PC to where it says ‘Drag Files Here’ or you can click the ‘Add Files’ button and use the file explorer to locate and add the files from here. Once all of the photos are in the screen that says ‘Drag Files Here’ simply click the ‘Start Upload’ button. After the photos are uploaded, simply ‘X’ out of this popup window, the page in PPW will refresh and your photos will now be there.
Upload Documents Button
This will allow you to upload Documents from your computer, to do so, click on the button and then you can either drag the Documents from your Computer to where it says ‘Drag Files Here’ or you can click the ‘Add Files’ button and use the file explorer to locate and add the files from here. Once all of the Documents are in the screen that says ‘Drag Files Here’ simply click the ‘Start Upload’ button. After the Documents are uploaded, simply ‘X’ out of this popup window, the page in PPW will refresh and your Documents will now be there.
Show All Button
Clicking this button will display all of the photos on this page.
Download Photos Button
Clicking this button will allow the user to download the photos to their computer.
When you click this button, you will have 3 options:
1. All - This will download all of the photos to a zip file to your computer
2. All (Queue) - This will prepare a download that will appear in your job queue, when you are ready to download the photos, simply go to the job queue and click download and this will download a zip file of all of the photos to your computer.
3. Selected - This will download only the photos you have selected to a zip file on your computer.
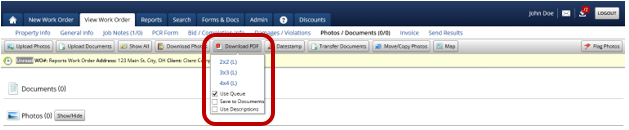
Download PDF Button
When clicking on this you will have a few options, you can choose for the photos to be in:
a 2x2 pattern on the PDF (4 photos per page)
a 3x3 pattern on the PDF (9 photos per page)
a 4x4 pattern on the PDF (16 photos per page)
You can also choose to:
Use Queue, if this is checked, the PDF will prepare for download to your job queue.
Save to Documents, if this is a checked the resulting PDF will be added as a document to the work order.
Use Descriptions: When printed the description of the photos will be added.
Date Stamp Button
If the photos do not have a date stamp currently, then you can add a date stamp using this feature. Do note that if the photos already have a date stamp, this feature WILL NOT alter the current date stamp.
To add the date stamp you can manually enter the date to be printed, if you want the time to be printed, you will want to check the box that says ‘Print time’ and you will want to select a time in the Modify time box, set it either to be AM or PM and set a Length of how long it took to take the photos.
Alternatively, if the photos have EXIF data you can check the box that reads ‘Print Date/Time from Exif data’, and the EXIF data will be added as the date and time stamp to the photos.
‘Print Description’ will add the description to the downloaded photo and ‘Don’t Print Date/Time’ will download the photos without a date stamp. After you have set the date/time stamp up how you want it simply download the photos and the downloaded version of the photos will have the selected date/time stamp on them.
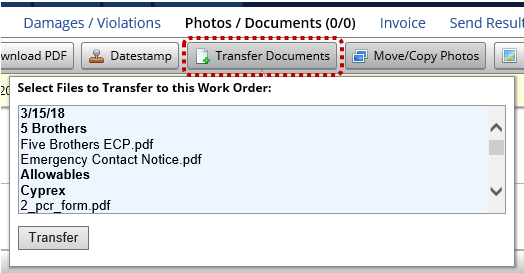
Transfer Documents Button
This will allow you to quickly add documents from the 'Forms & Docs' tab of PPW:
To transfer a document, simply select it from the list and click the ‘Transfer’ button and this document will be added to the documents portion of the work order.
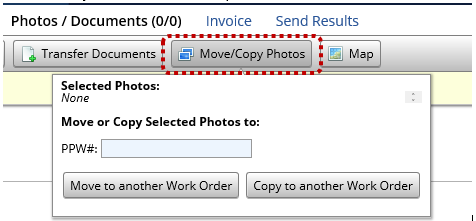
Move/Copy Photos Button
This will allow you to move or copy photos from one work order to another.
To move/copy photos to another work order, go to the order that you want to move the photos to and copy or make a note of the PPW# of that order. Then go to the order that has the photos, select the photos you want to move, click the ‘Move or Copy selected photos to’ button and paste or enter the PPW# of the order you want to move the photos to.
'Move to Another Work Order' Button: This option will remove the photos from this order and add them to another order, this would be used if photos were accidentally taken on the wrong work order and you did not need the photos on this order.
'Copy to Another Work Order' Button: This option will keep the photos on the current order and make a copy of them on the order that you entered the PPW# of.
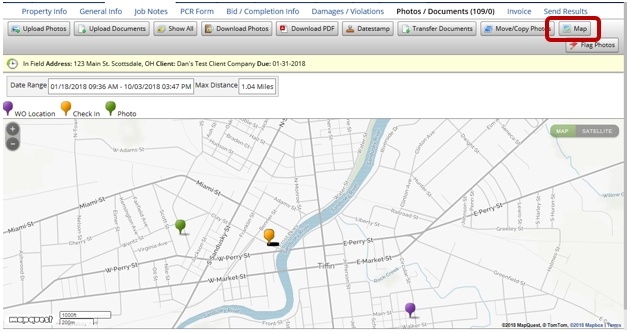
Map Button
The Map will show you the location of the following:
The Location of the work order (represented by the purple pin)
Where the check-in was performed (represented by the Orange Pin)
Where the photos were taken (represented by a Green Pin)
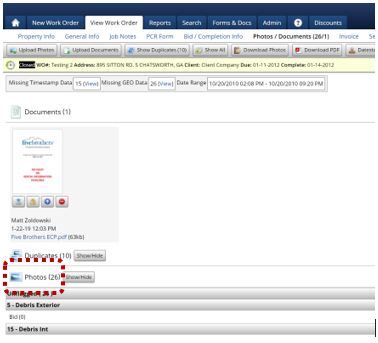
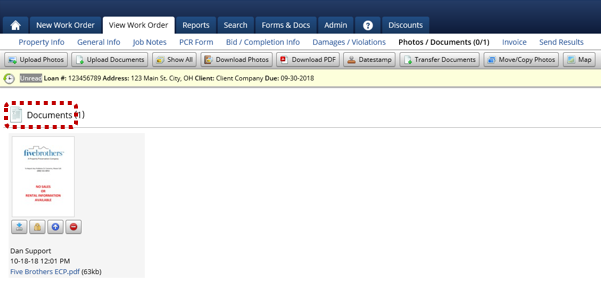
Documents Section
The 'Documents' section of the Photos/Documents tab will display any documents that have been uploaded or added to the work order. On the document that was uploaded you can:
Download it to your computer.
Edit which groups can see the document by clicking on the padlock icon
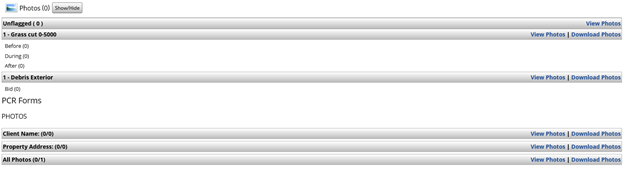
Photos Section
The Photos section of the work order is where you can view the photos that have been added to the work order.
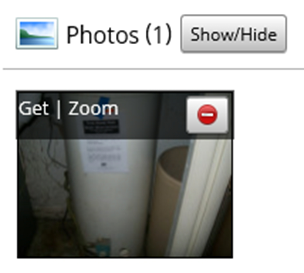
To see all of the photos on the work order, simply click the ‘Show/Hide’ button and it will display all of the photos.
If the photo is outlined in Orange, it means that it is flagged to a flagging option.
To see what it is flagged to simply hover over it and it will display the information about the photo.
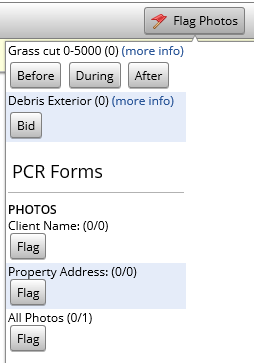
On this page it will display the flagging options. The flagging options will be pulled from:
○ Bid items on the Bid/Completion tab
○ Completion Items on the Bid/Completion tab
○ PCR Form questions that require photos
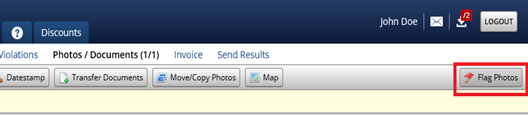
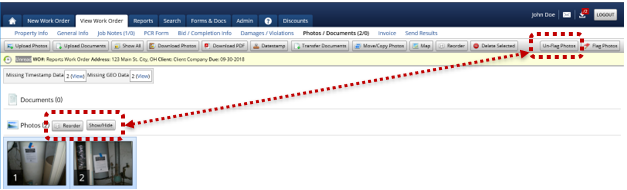
Flag A Photo
Click on the photo(s) that you want to flag, and click on the ‘Flag Photos’ button in the upper right-hand corner:
After you click 'Flag Photos', you will then be able to choose to what you wish to flag them:
Other Features
You can hover over a photo ann then you are provided the following options:
'Get' to download that specific photo.
'Zoom' to view a zoomed in version of the photo.
'Delete' to delete that specific photo.
If you have any photos selected, you will see the following additional buttons:
'Reorder' - This will all you to change the order of the photos in PPW.
'Delete Selected' - This will allow you to delete multiple photos at once.
'Un-Flag Photos' - This will allow you to unflag the photos.
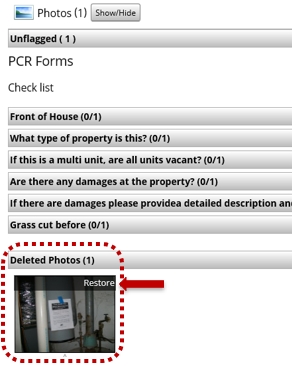
Lastly, if photos have been deleted, you will see them at the bottom of the screen. You can un-delete them by hovering over the photo and clicking on ‘Restore.’
Last updated